If you are not yet set up, please complete the ClassLink Onboarding Survey.
How to Get Started
Please review the limitations before completing the ClassLink Onboarding Form.
1. Review limitations below:
- You can assign only one language to a class/section.
- Testing Coordinators and Teachers will be able to access testing data through ClassLink only for the current academic term.
- Testing Coordinators will only be able to access data for testing completed during previous academic terms by requesting a district login through Avant Assessment Client Support.
- Teachers will need to contact their Testing Coordinator to access data for testing completed during the previous academic term.
2. Complete the ClassLink Onboarding Form:
Complete the ClassLink Onboarding Form prior to integration.
How to Integrate with the Avant Assessment App
When everything is ready for integration, our team will send you onboarding instructions.
Before testing can begin, the ClassLink Administrator must set up a Roster Integration between Avant Assessment and ClassLink, and assign user permissions. Detailed instructions can be found here (ClassLink Administrators can access this article through their ClassLink Help Center account).
Admin Dashboard
The testing coordinator uses the Admin Dashboard to assign tests, handwritten options (if applicable), languages, and testing dates. ClassLink Admin must set up the Testing Coordinator to access the Admin and Teacher Dashboards.
How to Set Up the Assessment
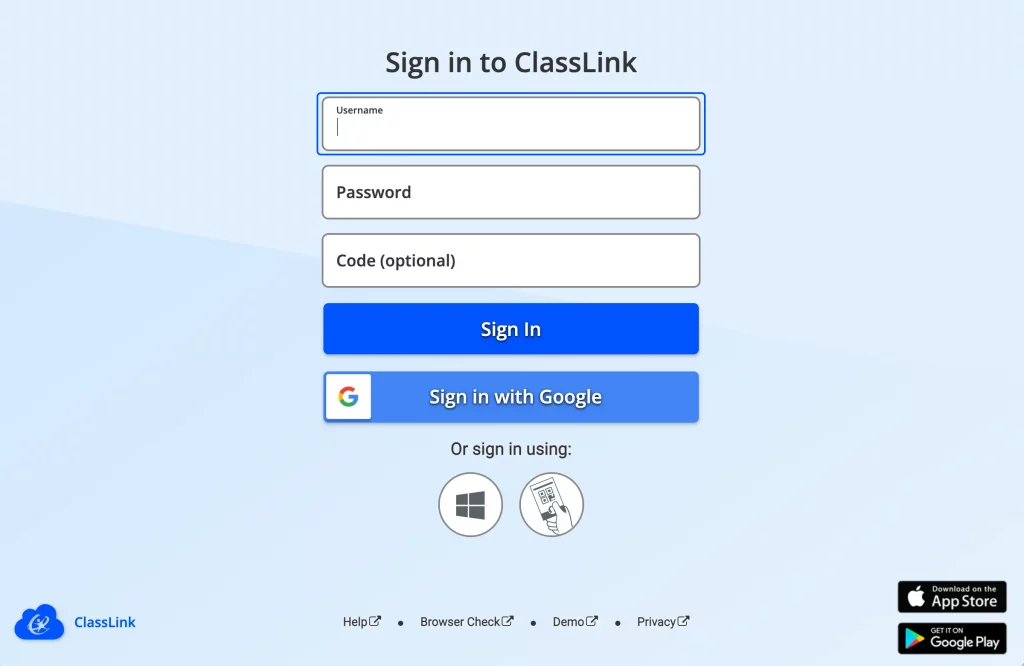
1. Log into your ClassLink Portal.
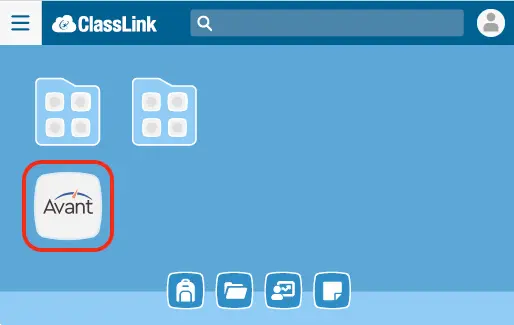
2. Click on the Avant Assessment icon to access the Admin Dashboard.

3. Click the “Perform Data Synchronization” button to update the Class List.

Please do not perform syncing while students are testing. It may cause an incomplete sync.
4. Check the boxes for each class you want to assign the test.

5. Assign test to classes:
- Click “Allow Handwriting” toggle, if you purchased it.
- Select test package (e.g. STAMP 4S, STAMP 4Se)

Select test package to assign to classes (e.g. STAMP 4S, STAMP 4Se)
Click “Allow Handwriting” toggle, if you purchased it.
6. Click “Apply to Selected” to save changes.

The class status will change from “Needs product reservations” to “Needs class setup”.

Needs class setup: Testing coordinator should select date and language for each class.
7. Click the “Estimated Testing Date” field and choose the planned test date.

8. Choose Language to Test.

9. Click “Use Handwritten (where allowed)” for classes using the handwritten option.
10. Click Apply to Selected.

11. Review your chosen settings and click “Yes, Continue”.
IMPORTANT: Make sure the language, date, and writing method are correct before pressing continue. Once confirmed, these setting cannot be changed.
The class status will change from “Needs class setup” to “Testing Paused”.

Testing Paused: Students cannot access the test.
Testing Ready: Students can access the test.
Actions:
Play Button – click the play button to open access to the test on the day of testing.
Stop Button – click the stop button to close access to the test on the day of testing.
Magnifying Glass – access results and reports. The class status should be set to “Testing Ready”.
How to Access Results from the Admin Dashboard
1. Log into ClassLink.
2. Click on the Avant Assessment icon to access the Admin Dashboard.
3. Click the magnifying glass for a specific class. You will be redirected to the Avant Assessment testing results and reports.
IMPORTANT: The class status should be set to “Testing Ready”.

Teacher Dashboard
How to Start the Assessment
1. Log into your ClassLink Portal.
2. Click on the Avant Assessment icon to access the Teacher Dashboard.
![]()
3. Click the play button on the day of testing. This allows students to access the test.

Actions:
List – view student roster.
Magnifying Glass – access results and reports. The class status should be set to “Testing Ready”.
Play Button – click the play button to open access to the test on the day of testing.
Stop Button – click the stop button to close access to the test on the day of testing.
4. After testing is completed, press the Stop button.
This will prevent students from accessing the test after the scheduled time.
How to Access Results from the Teacher Dashboard
1. Login into ClassLink.
2. Click on the Avant Assessment icon to access the Teacher Dashboard.
3. Click the magnifying glass for a specific class. You will be redirected to the Avant Assessment testing results and reports.
Student Dashboard
REMINDER: The Avant STAMP assessment must be taken in a proctored environment, with a proctor who is authorized by your school.
1. Instruct students to log in to ClassLink.

2. Instruct students to click the Avant Assessment icon.

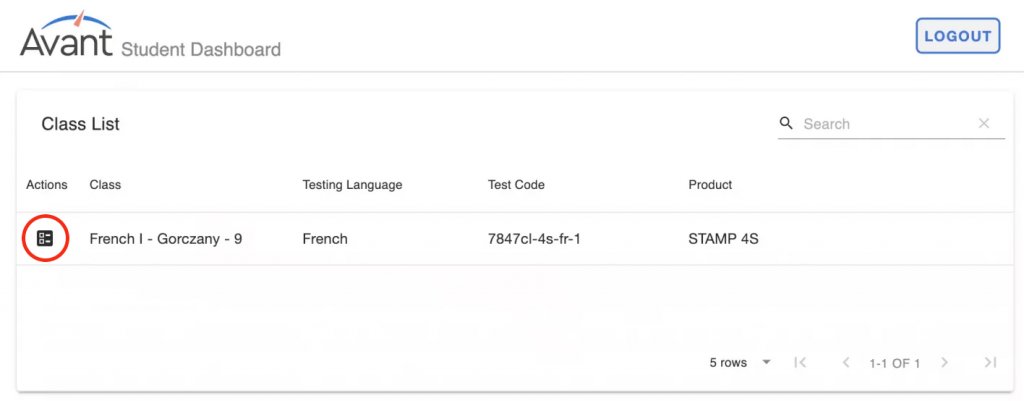
3. Click the icon under “Actions” to start the test.
