Windows 10 – Virtual Keyboard Instructions
There are 3 steps needed to load virtual keyboards and type in the desired language.
Step 1. Activate the Language and Keyboard in the System. This is explained further below for each language.
Step 2. Switch to the Desired Language.
Step 3. Type in the Desired Language.
Step 1. Activate the Language and Keyboard in the System
- Start Menu > Settings > Time and Language
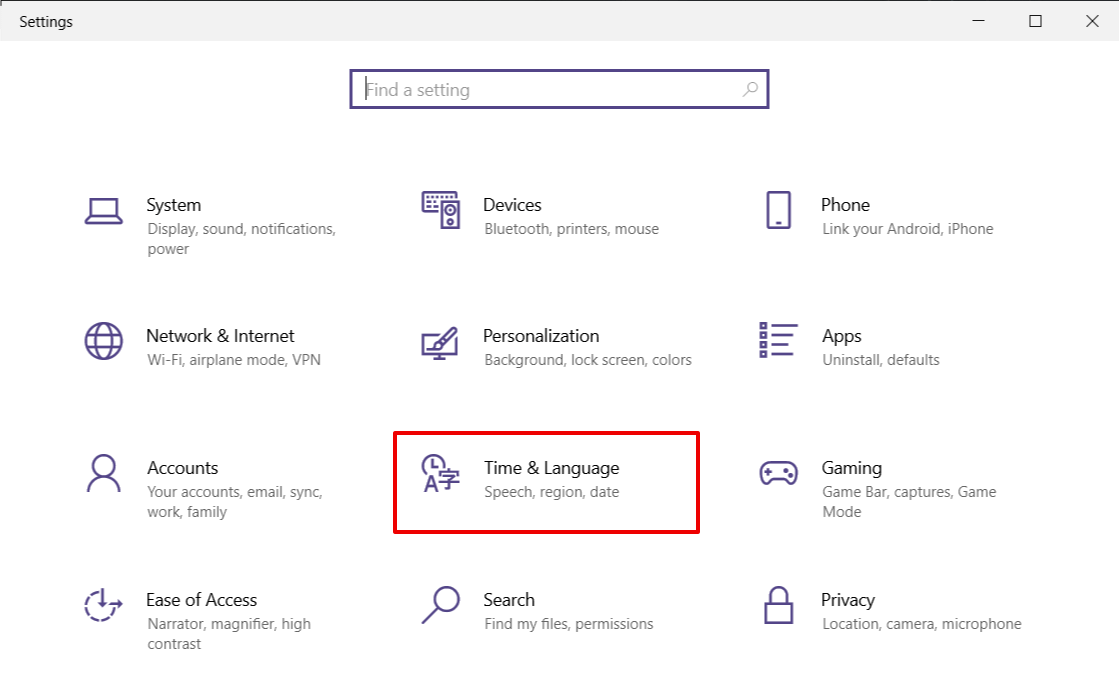
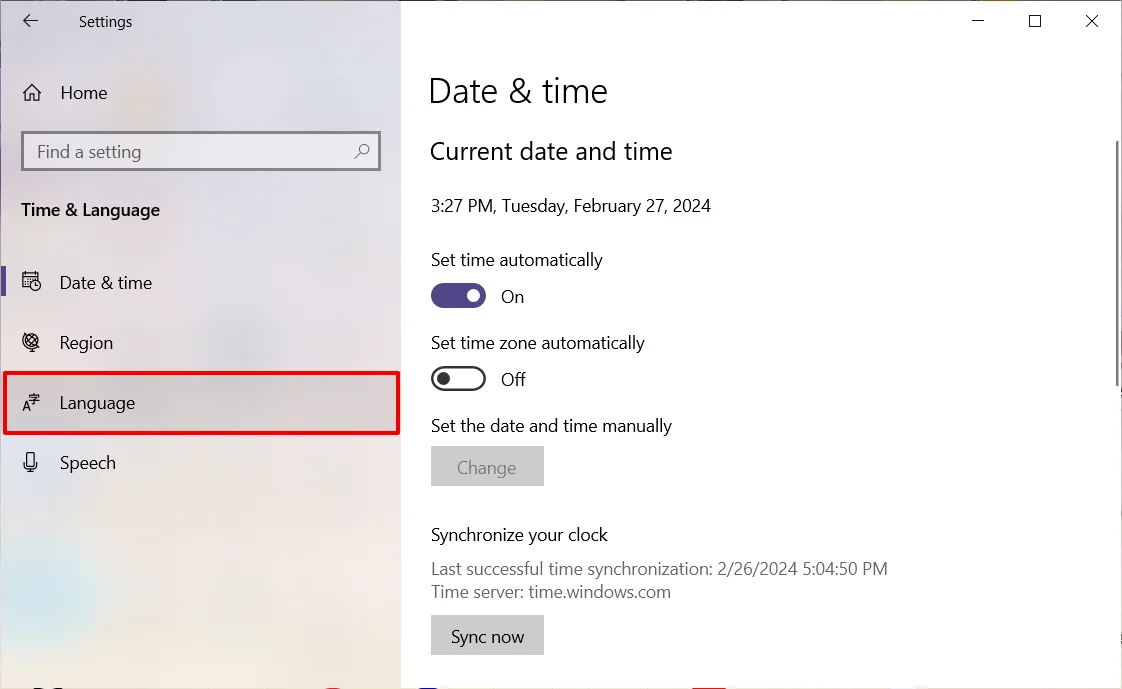
- Select the Region & Language tab.
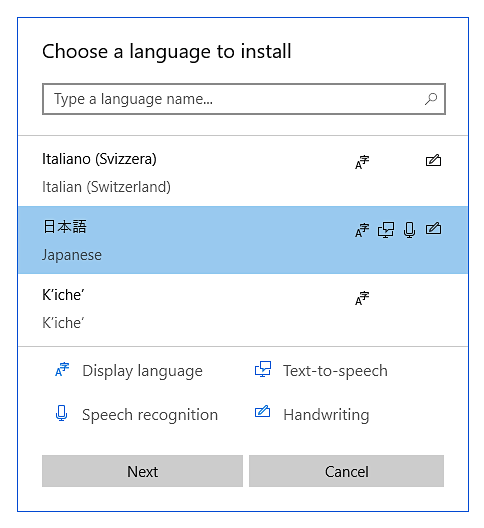
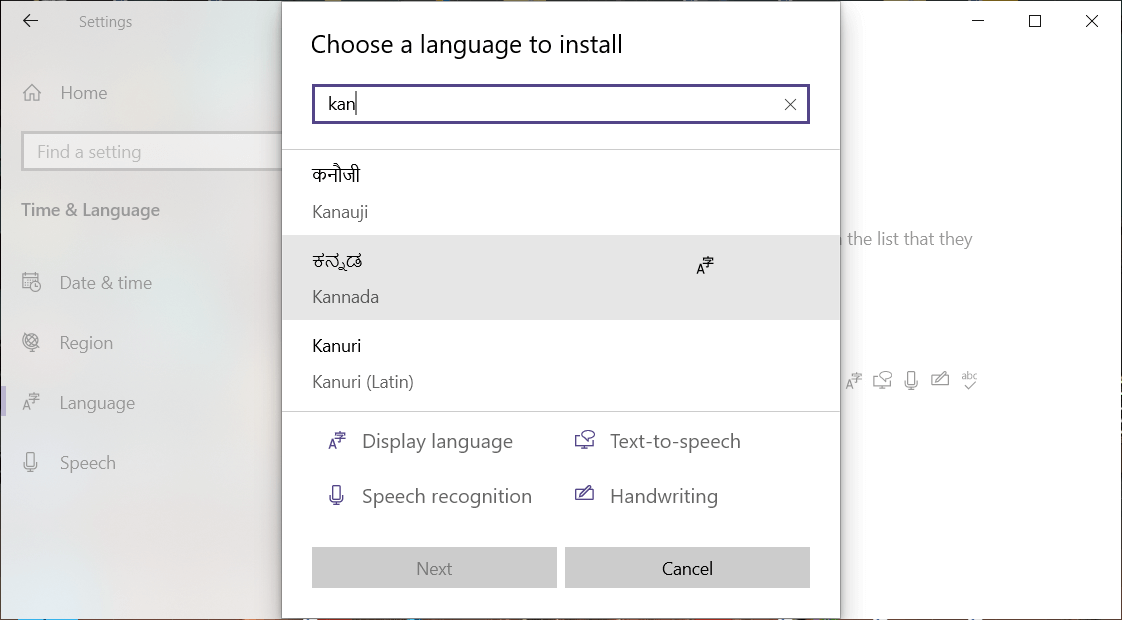
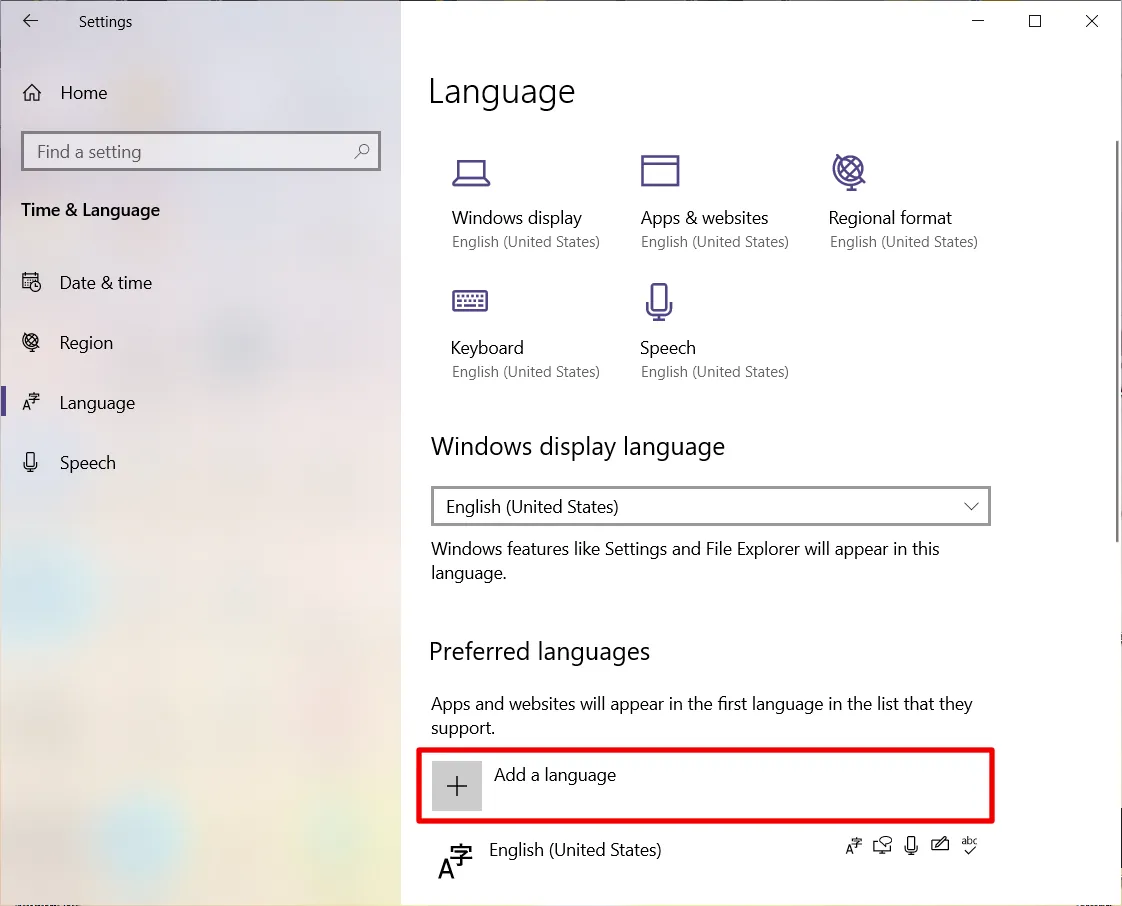
- Click the + sign next to Add a language.
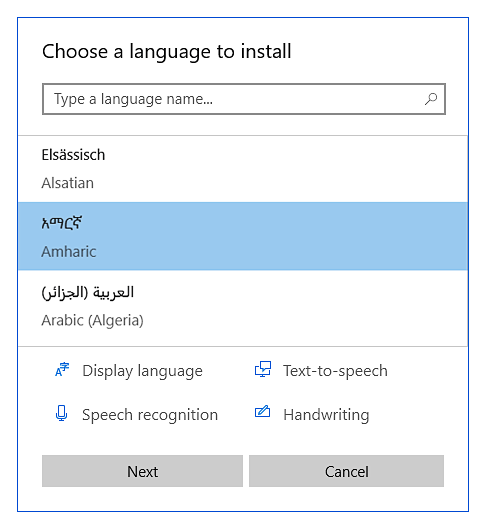
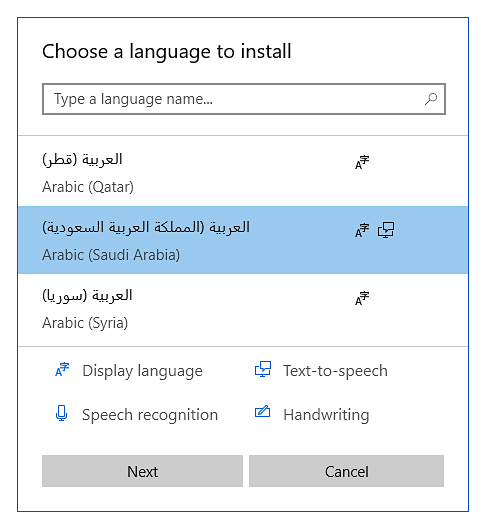
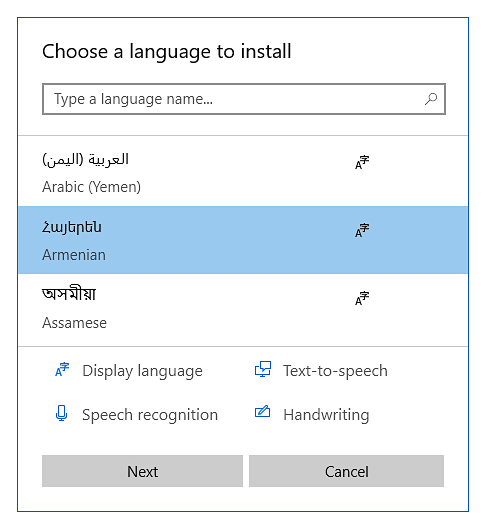
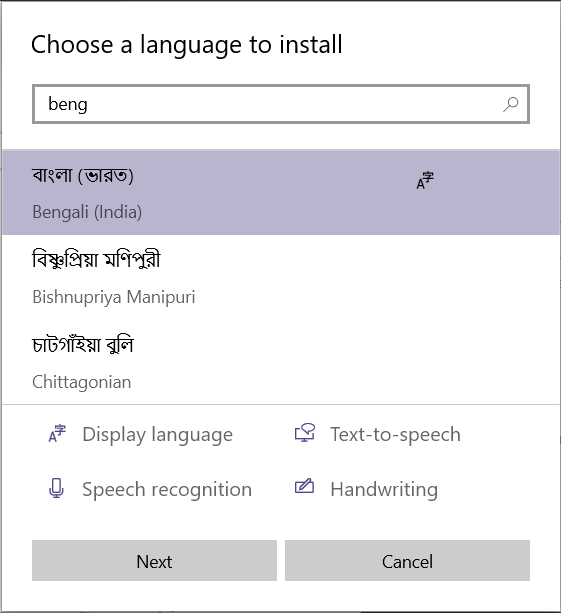
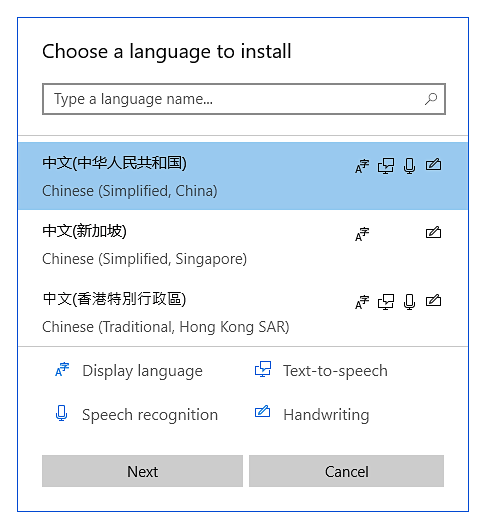
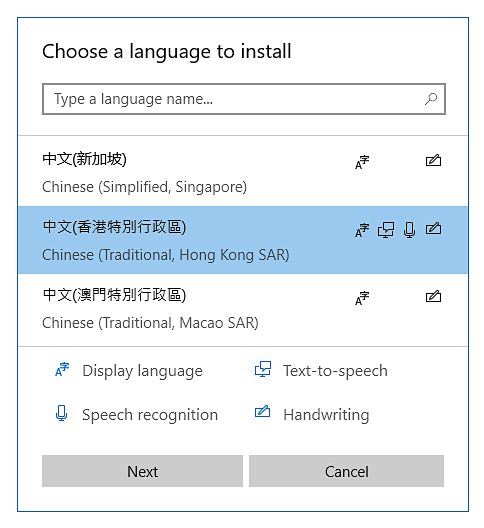
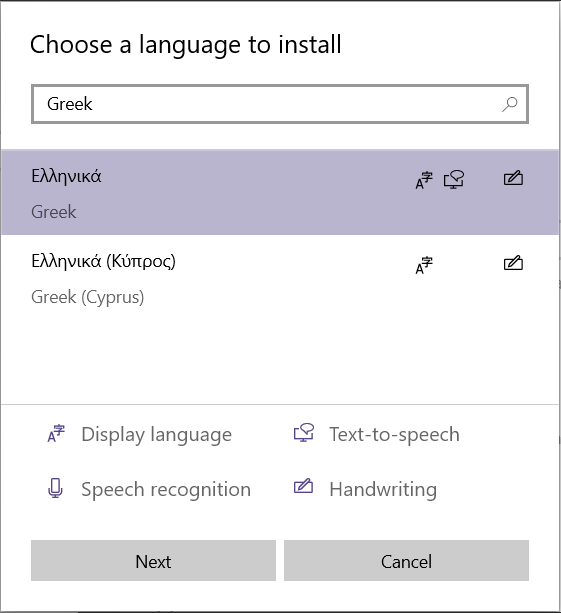
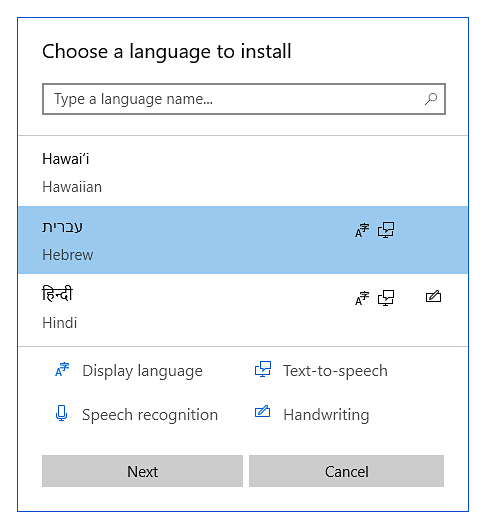
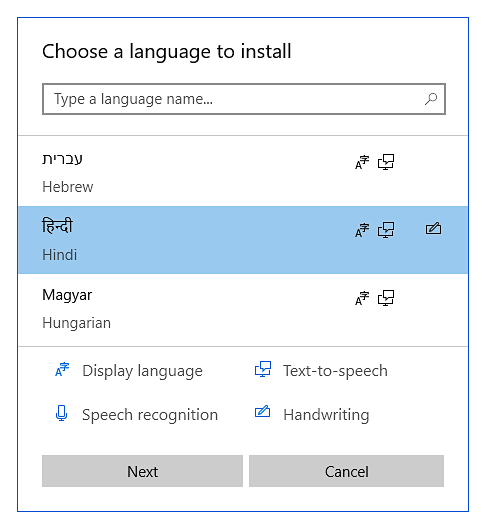
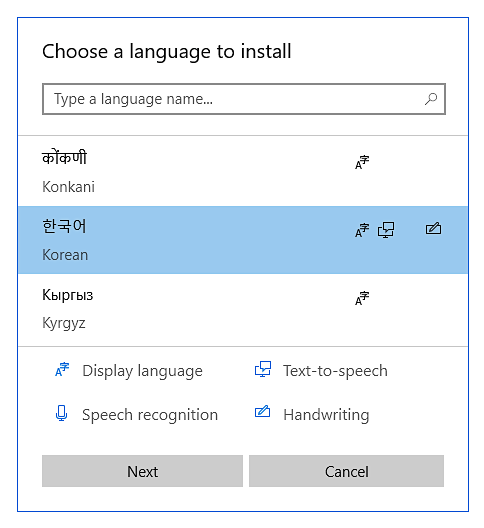
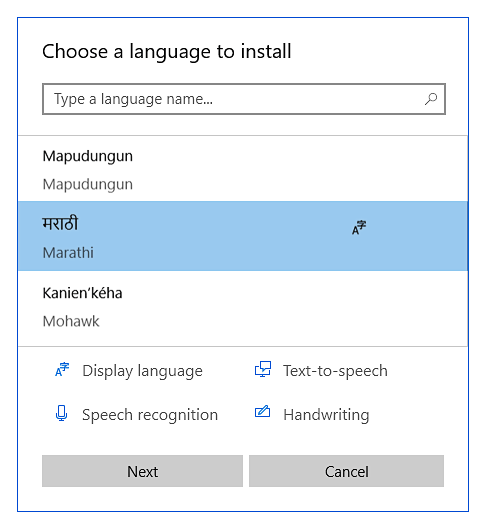
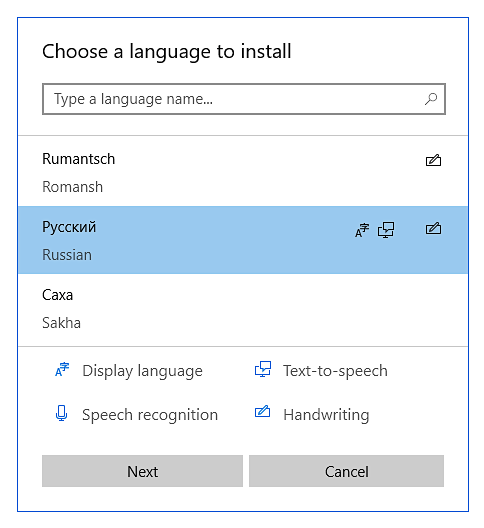
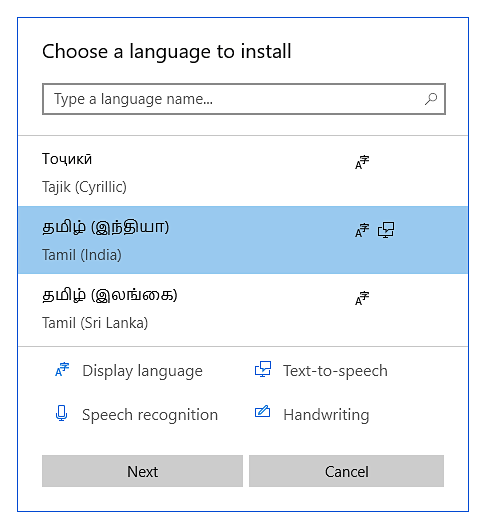
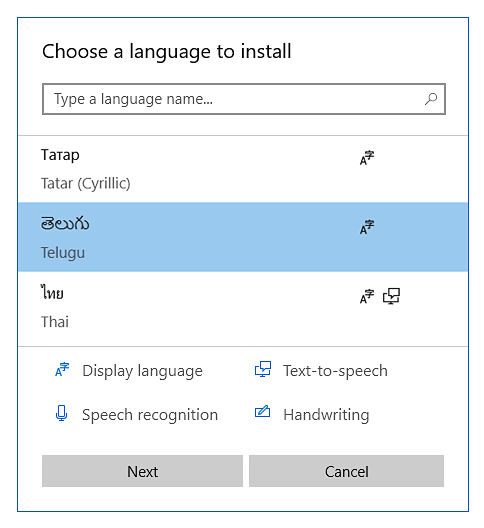
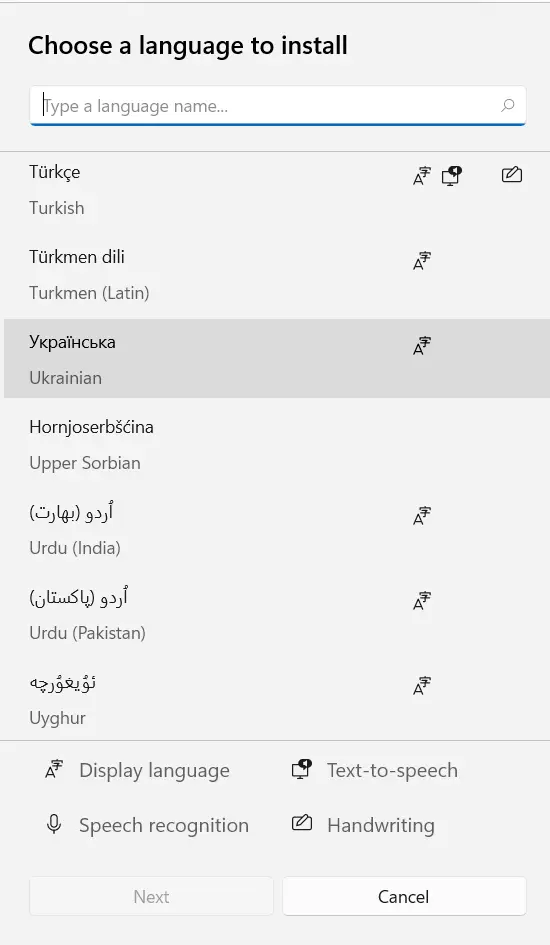
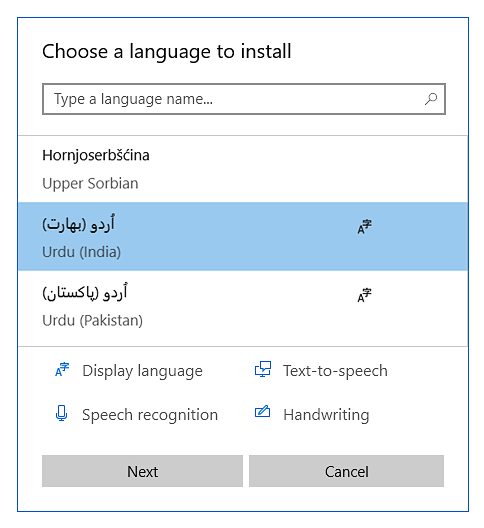
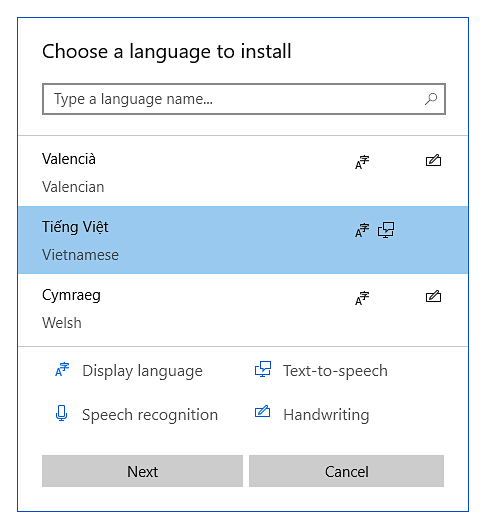
- Select the desired language and click Next. This is explained further below for each language.
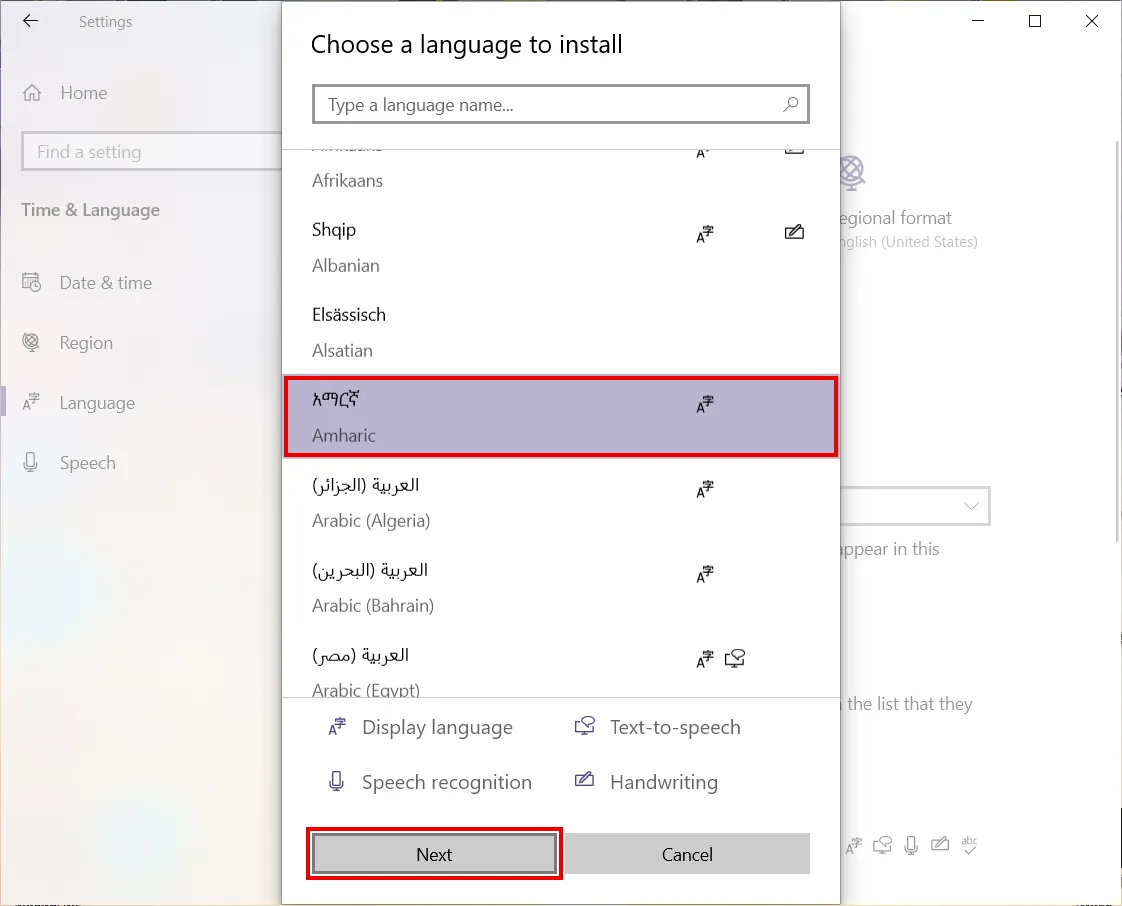
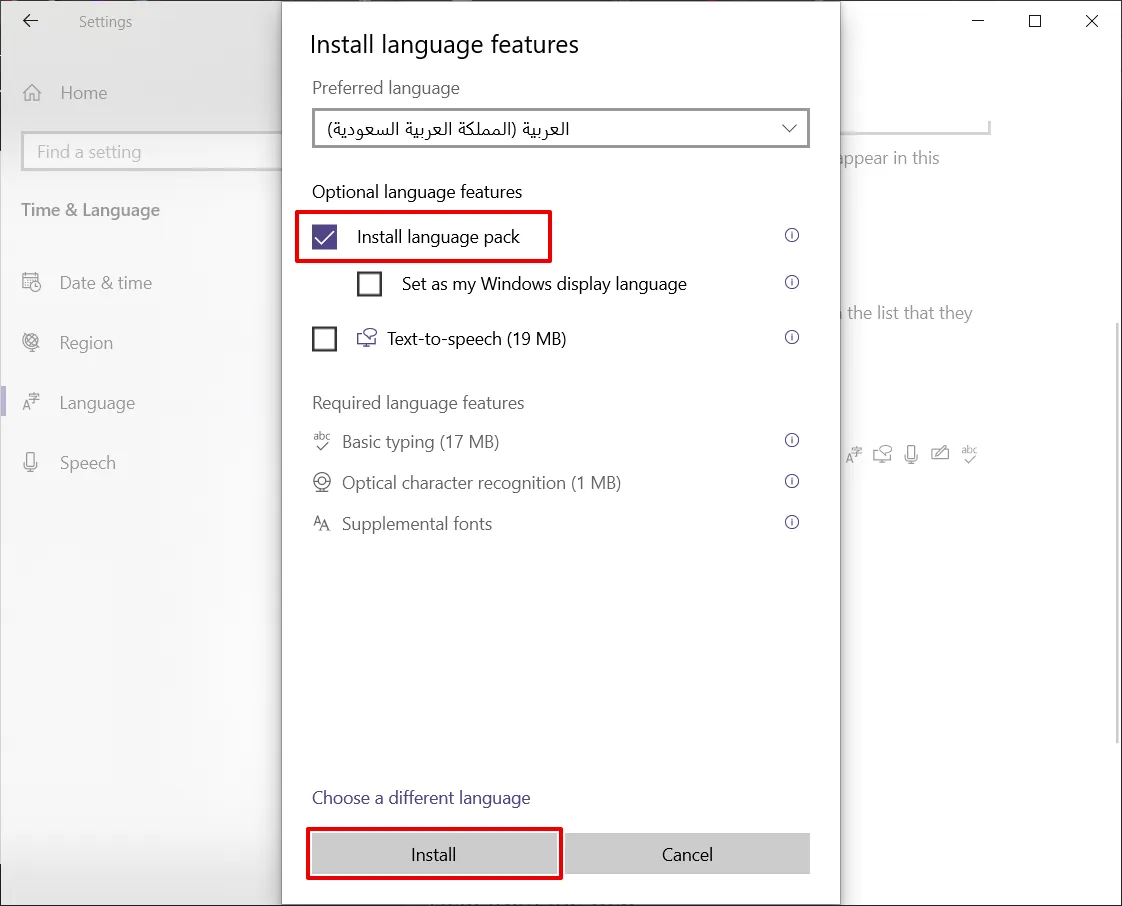
- Deselect Set as my Windows display language and click Install.
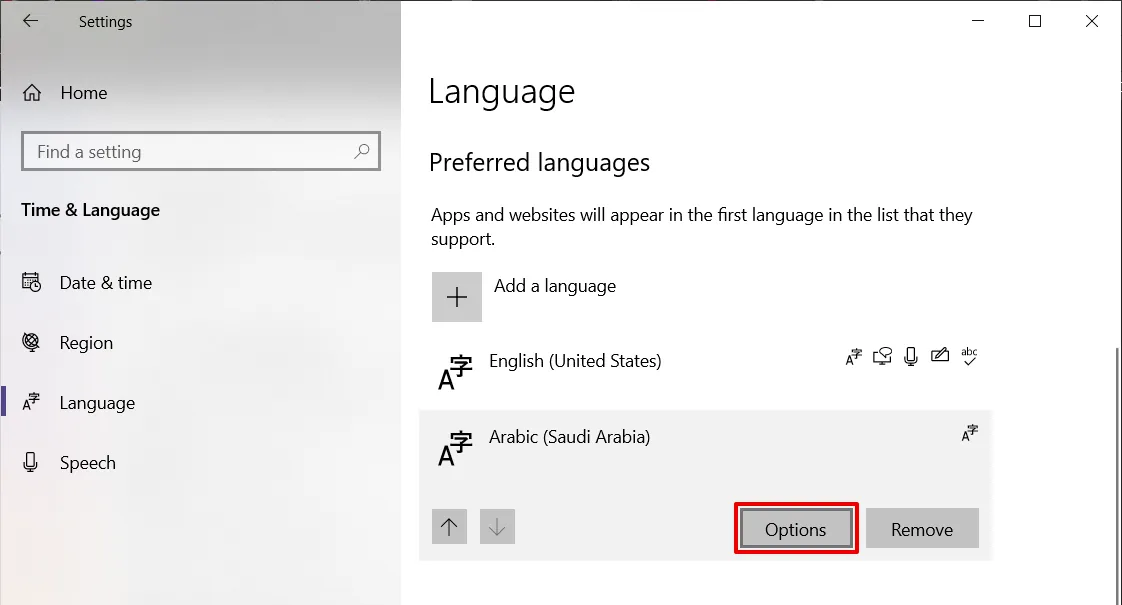
- Click on Options for the language you just added.
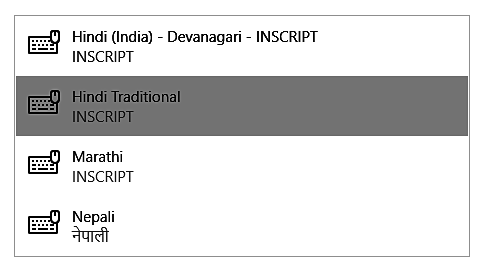
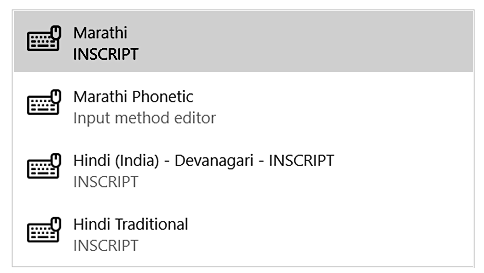
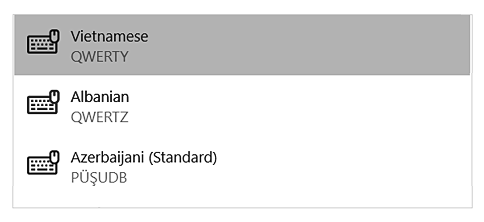
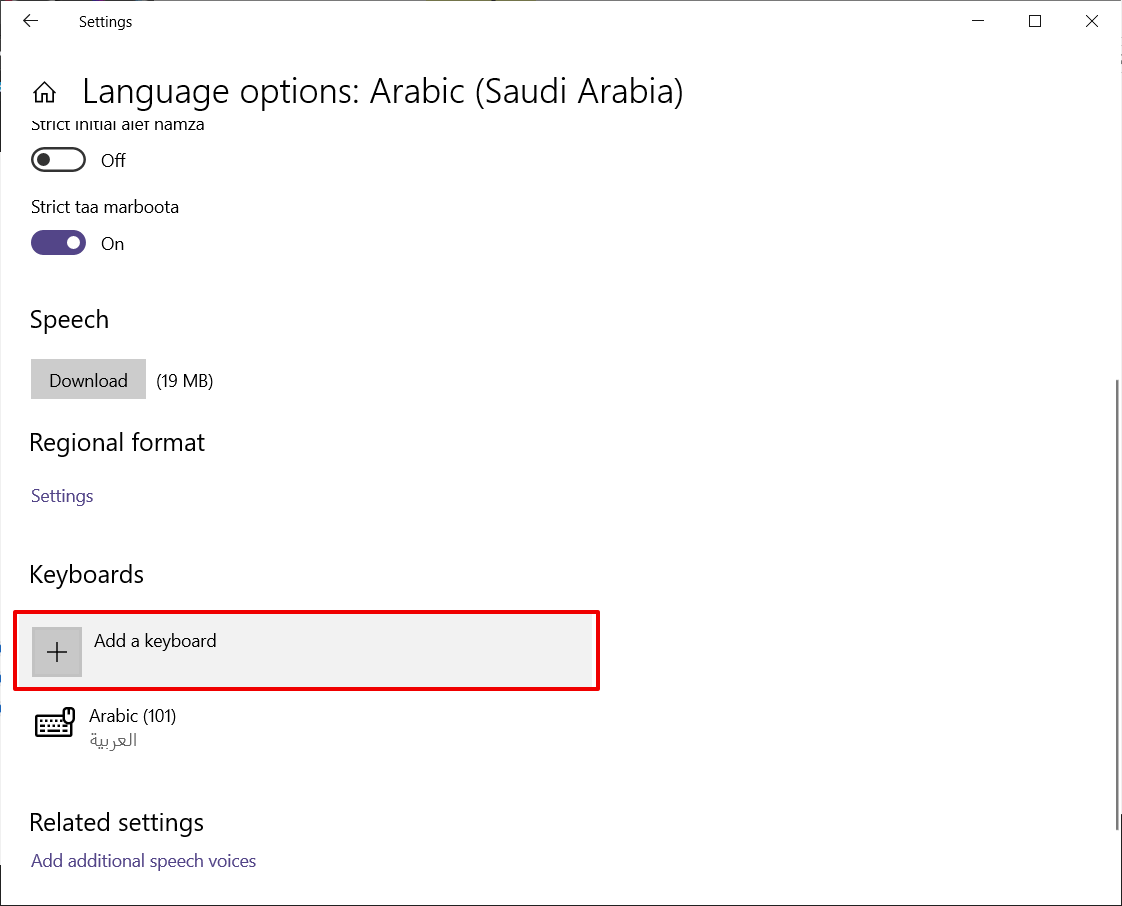
- Under Keyboards click the + sign next to Add a keyboard.
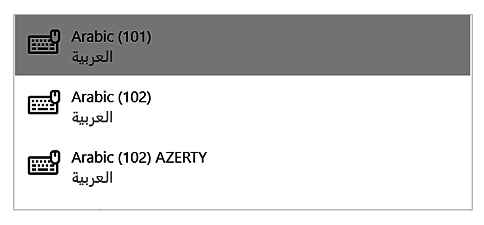
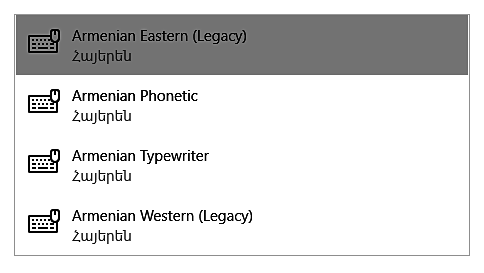
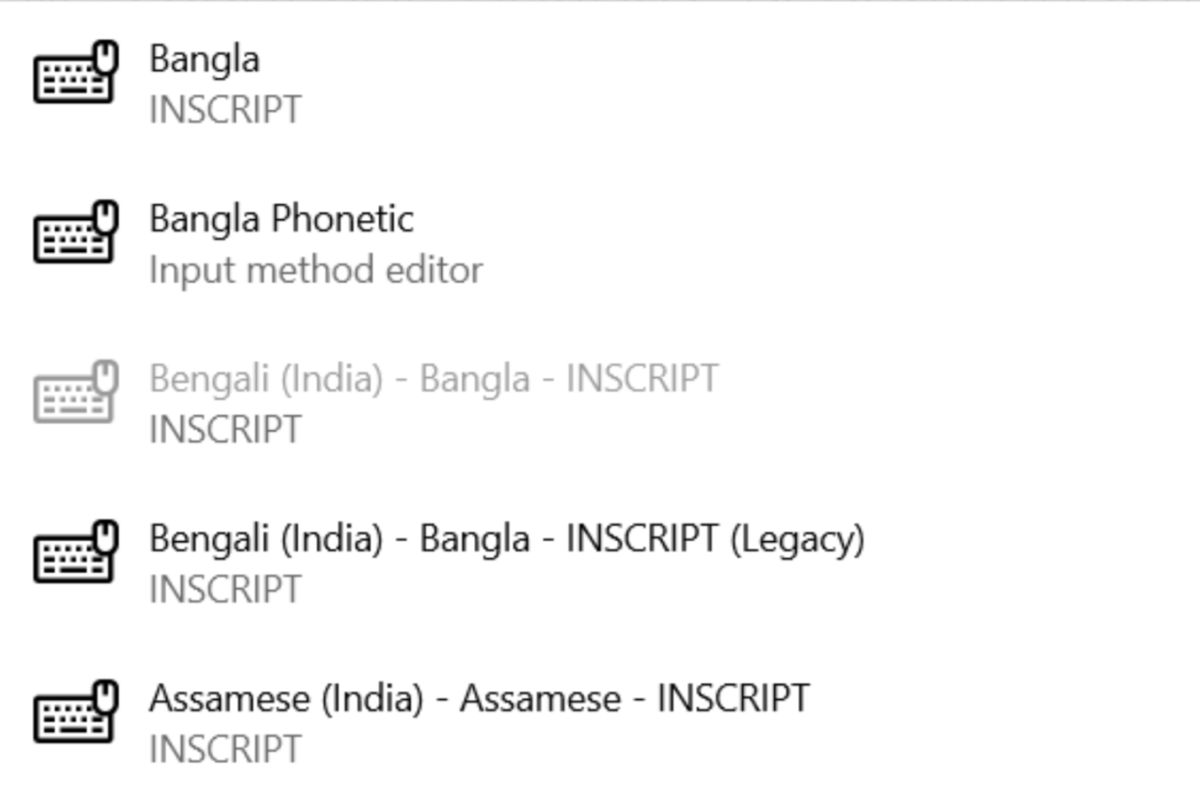
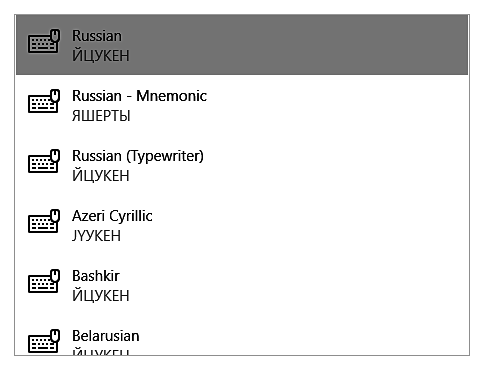
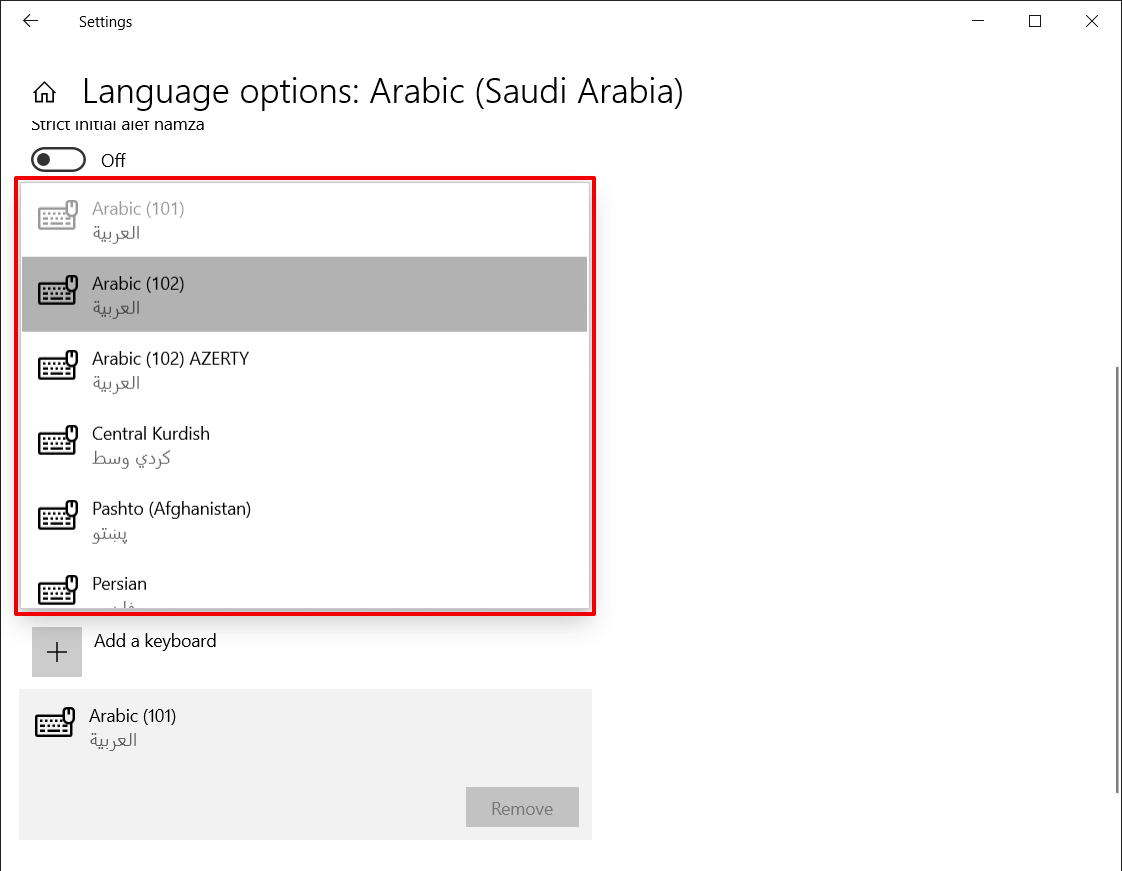
- Click on the desired keyboard to add it. This is explained in further detail below for each language.
- Close the Settings window.
Step 2. Switch to the Desired Keyboard
- Change language keyboards on the taskbar by clicking on the abbreviation for the active language and switching it to the desired language.
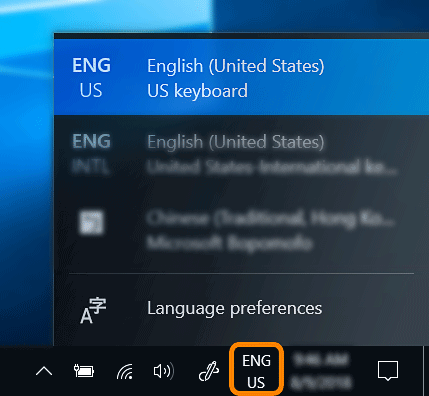
- You can also hold down the Windows key and press the Space Bar to switch language keyboards.
Step 3. Type in the Desired Language
- After switching to the desired keyboard you can begin typing in the desired language.

- On-Screen Keyboard: Using the On-Screen Keyboard is not required, but may be helpful for test takers typing in a character-based language. Test takers can click the keys on the On-Screen Keyboard, or use it as a keyboard layout reference when typing on the physical keyboard.
- To turn on the On-Screen Keyboard click on the Windows menu and type “OSK” or “On-Screen Keyboard” and click on the app to launch it. Once the On-Screen Keyboard is turned on it will display the active language.
Language Specific Instructions
*Avant Assessment has compiled the information in this guide to assist you in activating various language virtual keyboards on Windows 10 Operating Systems. Since software and hardware updates and changes occur quite frequently, these are only suggested processes that we have identified, tested and produced in these simple guides. If one of the processes outlined does not seem to work for your configuration, please check with the developer of your hardware and operating system for more specific support. There may be more updated information available through those resources. As always, Google is also a great resource to use if you are searching for assistance with this process as well.
